How to Play Jump to Reach the Sky
Master the jump loop, train with weights, read the UI, and climb with intent.
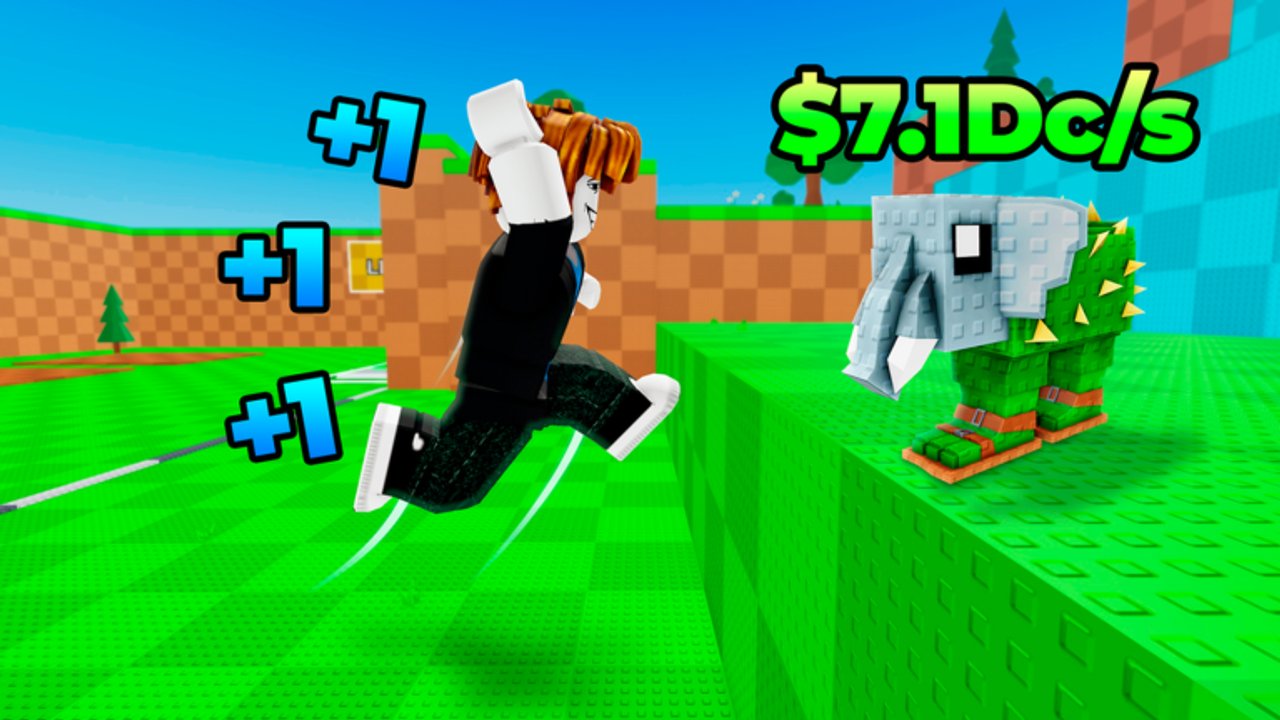
This How to Play guide covers the full loop of +1 Jump to Reach the Sky! on Roblox: how jumping builds permanent Jump Power, when to train with Weights, how to read height and power UI, how six-player servers feel, multiplayer etiquette, and mobile-specific tips. If you have not finished a first session yet, skim Getting Started first, then return here for depth.
The game is an incremental jump simulator. You are not racing a single parkour timer so much as growing a permanent stat that unlocks floating sky areas and, eventually, rare Brainrots. Codes through ABX add temporary Power and Money boosts; offline income keeps the account moving between logins. Platforms include PC, mobile, and tablet.
The core loop in one paragraph
Jump to raise Jump Power by +1 per jump. Use Weights to train more efficiently. Spend temporary Power boosts from Codes on focused jump or weight sessions. Climb when your permanent number (and timing) can clear the next floating platforms. At the highest areas, hunt Brainrots. Leave and let offline income work. Repeat with a clearer height goal each time.
Jump spam versus smart climbing
Jump spam is correct when your only goal is permanent Jump Power. Flat ground, safe space, minimal fall risk — press jump, land, repeat. Every successful jump is a permanent +1. Early accounts should spend real minutes here, especially while a Power boost is active.
Smart climbing starts when a platform is almost reachable. Then the goal shifts from raw count to trajectory:
- Line up a run-up so your apex meets the platform edge.
- Avoid sideways drift that wastes height.
- Camera slightly above and behind helps judge distance on floating pads.
- If you fail by a small margin three times in a row, stop climbing and train. More Jump Power is usually cheaper than stubborn retries.
Mixing both modes is the skill. Pure spam forever ignores the sky. Pure climbing with a weak Jump Power wastes session time. Use spam to raise the floor; use climbing checks to know when the floor is high enough.
When to train with weights
Weights make you stronger — treat them as the training tool that multiplies the value of a jump session. Good times to train:
- Right after redeeming a Power boost from ABX.
- When you miss a platform by a small, consistent margin.
- Mid-session when Money from a Money boost or offline gains lets you stay longer.
- Before a planned push into a new sky band.
Poor times to train:
- During the last seconds of a boost you have not used.
- When a new height band just opened and clean climbs would teach spacing better than another closed training loop.
- When you are lost in the UI — fix controls first via Controls.
Deep efficiency notes, boost windows, and climb-versus-train decisions live on Weights and Jump Power.
Reading height and Power UI
Keep three numbers mentally separate:
- Jump Power (permanent) — rises by one each jump. This is your long-term strength.
- Temporary Power boost — from codes; limited duration; makes the current window feel stronger.
- Height / platform progress — how far you have climbed into floating sky areas.
If Jump Power is rising but height is not, your route or timing is wrong. If height stalls and Jump Power is flat because you stopped jumping, you are sightseeing instead of playing the loop. Glance at the UI after every short climb attempt so you know which lever to pull next.
Money matters as a session fuel, especially when codes grant Money boosts. Spend the timer on productive play, not idle standing.
Server size: max six players
Servers hold up to six players. That is small enough that you will notice everyone, and large enough that pads can get busy. Practical effects:
- Popular launch pads may feel crowded — wait a beat rather than jumping into someone else’s landing.
- You can learn routes by watching stronger players, but their Jump Power does not transfer to you.
- Lag or collisions on tiny floating platforms are more annoying in a full server; give space on narrow edges.
If the server feel is too chaotic for precise climbs, finish a weight training block first, then climb when fewer people contest the same ledge.
Multiplayer etiquette
- Do not body-block the only approach to a starter platform.
- Avoid repeatedly bumping climbers at the apex of their jump.
- Emotes and movement spam on tiny pads make misses more likely for everyone.
- Help with advice in chat if you want; do not demand carries — progression is personal Jump Power.
- Respect that mobile players may turn slower; leave slightly more space on shared routes.
Good etiquette keeps six-player sessions usable. Bad etiquette just creates retries for the whole lobby.
Mobile and tablet tips
Touch controls can clear the same content as keyboard and mouse with a few habits:
- Prefer landscape for wider jump aiming.
- Keep thumbs clear of the ABX and other HUD corners so you do not open menus mid-jump.
- Lower graphics slightly if frame dips ruin apex timing.
- Use shorter spam sessions if your hands fatigue — Jump Power still adds up across many short bursts.
- Redeem codes before you start moving so you are not typing mid-air.
PC players should still learn the same climb discipline; mouse look helps, but Jump Power requirements do not change. Full device notes sit on Controls.
Codes inside the how-to-play loop
Codes are not a separate hobby. They are timers you schedule:
- Join and open ABX (top-right).
- Redeem from the Codes list.
- If the reward is Power, jump and use weights immediately.
- If the reward is Money, extend a productive session instead of banking idle time.
- When the timer ends, either climb with your new permanent Jump Power or plan the next offline gap.
Never redeem a stack of Power boosts and then stand still. The how-to-play loop assumes boosts are fuel.
Session templates
Short session (10–15 minutes): Claim codes → weight or jump spam under Power boost → one climb check on the next platform → log off for offline income.
Medium session (30–45 minutes): Claim codes → train → climb into a new sky band → note Brainrot potential → train again if the next ledge is close → leave with a written next goal.
Long session: Alternate train and climb blocks. Midway, re-open Brainrots if you are entering high areas, and early-game tiers if you are still unlocking the first major bands.
How this page links to the rest of the wiki
- Getting Started — first-hour checklist and offline income note.
- Weights and Jump Power — deep training and boost efficiency.
- Brainrots — high-area rares and why height gates matter.
- Controls — input reference.
- Codes — live ABX strings and rewards.
- Guides Hub — full index including scripts and tier routes.
Play with intent: spam when you need numbers, climb when numbers are enough, train when misses are small, and treat six-player space as shared. That is how to play Jump to Reach the Sky without wasting the permanent +1 that every jump already gives you.
Frequently Asked Questions
Quick answers for Jump to Reach the Sky players.
Should I only spam jump or only climb?
Both. Spam on safe ground to raise permanent Jump Power. Climb when platforms are nearly reachable. If you miss by a little several times, train with weights and retry.
When should I use weights during a session?
Best during an active Power boost, after close misses, or before a planned push into a new sky band. See Weights and Jump Power for efficiency detail.
How many players are in a server?
Servers cap at six players. Give space on narrow platforms, learn routes by watching others, and remember Jump Power growth is still personal.
Any mobile-specific advice?
Use landscape, keep thumbs off HUD corners, redeem ABX codes before moving, and shorten spam blocks if your hands fatigue. Controls has more input detail.
Where do temporary Power boosts fit?
Redeem codes via ABX, then jump and train while the timer runs. Temporary Power does not replace the permanent +1 Jump Power per jump.