Jump to Reach the Sky Early-Game Priority Tier
What to chase first when Jump Power is low and high Brainrots are still gated.
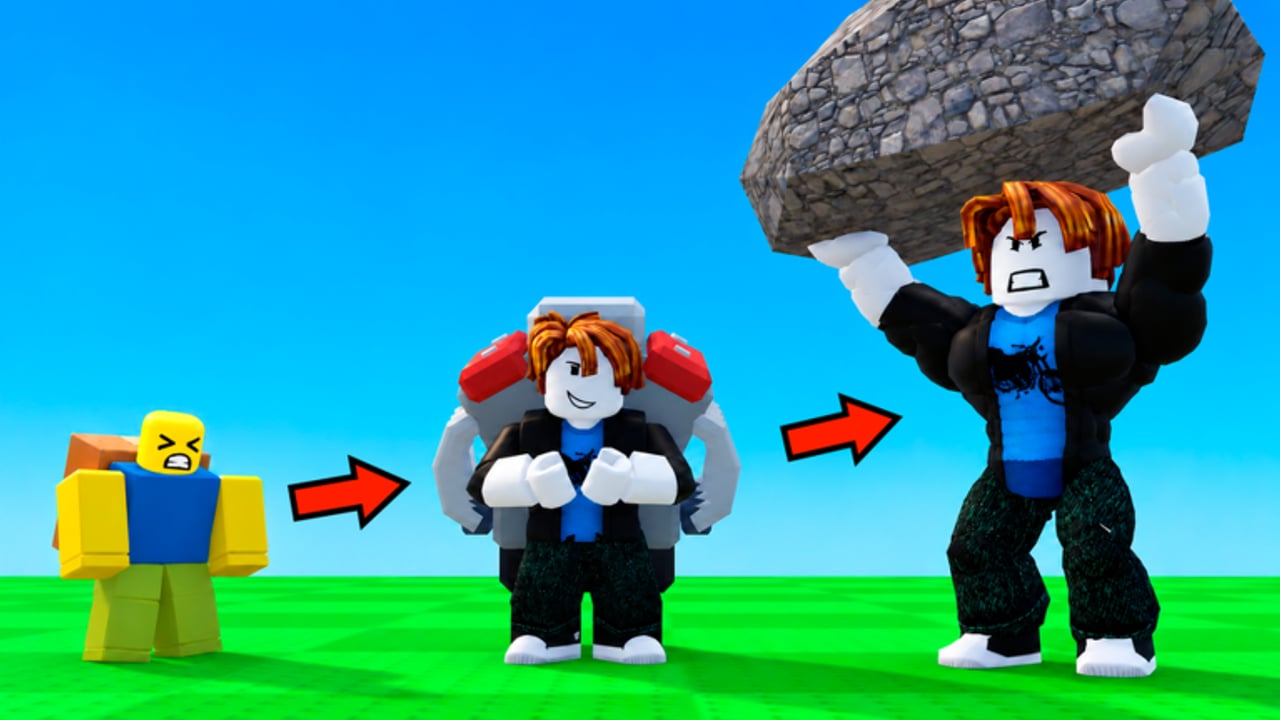
The early game in +1 Jump to Reach the Sky! is a volume and unlock problem, not a rare-hunt problem. Every jump grants +1 Jump Power, Weights multiply how effectively you train, offline income fills gaps between logins, and timed codes from the ABX menu give short Power or Money spikes. Rare Brainrots cluster in higher areas you simply cannot farm yet. This priority tier exists so you do not burn your first hour chasing silhouettes behind height gates.
Use this page with Getting Started for the full day-one walkthrough, Codes for the live redeem list, and the Brainrots tier only after mid platforms feel routine. The Tier List Hub explains why early and late rankings disagree—bookmark both so you know when to graduate.
S-priority: codes before ego climbs
Redeem first. Open the ABX control, enter every working code exactly (case sensitive), and start timers when you are ready to move—not while you AFK in the lobby. Early codes typically grant short Power or Money boosts. Power helps sticky first ledges; Money accelerates first Weight buys. Neither replaces jumping, but both compress the ugly first plateau.
Why S: Free, fast, and time-limited. Skipping codes is pure lost progression. Keep the Codes page open on a second screen if you can.
Anti-pattern: Redeeming a Power code, then wandering low platforms until it expires. Decide the breakthrough ledge before you tap Redeem.
A-priority: jump spam as your real XP bar
Jump Power scales with repetition. Early accounts win by turning sessions into disciplined hop loops: land, jump, land, jump—minimize long AFK stares at the skybox. Each +1 is tiny; hundreds of them are how first platforms stop feeling impossible.
Session structure:
- 2–3 minutes of warm hops to feel current power.
- Push the next visible ledge while a Power boost is active (if you have one).
- When the boost ends, return to volume jumping and Weight shopping instead of rage-quitting.
Six-player servers can clutter popular pads. If someone parks on your line, sidestep or wait a wave—fighting for the same pixel wastes Jump Power time more than it costs pride.
Why A: No amount of theory beats raw +1 stacking when your number is still small.
B-priority: Weights that keep cadence alive
Weights are the early “are we training or flailing?” lever. Buy them when Money boosts or offline income give you a lump sum; do not hoard currency forever waiting for a perfect shop moment that never arrives. The goal is stable jump rhythm toward the next platform band, not maxing a dump-stat you do not understand yet.
Deep mechanics live on Weights and power. Early rule of thumb: if jumps feel floaty but you still miss the same ledge by a hair, you need more Jump Power volume and a Weight check—not a Brainrot detour.
Why B: Critical, but second to actually jumping and claiming codes. A Weight you never earned because you stood still is worthless.
B-priority (tied): first platforms as milestones
Treat early platforms as checklist unlocks, not tourist stops. Each new stable landing expands where you can farm volume safely and where offline progress feels less punishing when you drop. Mark mental milestones: “I can recover from a miss here without resetting to spawn vibes.” That recovery comfort is when you start peeking at mid-band routes.
Link your learning path through Getting Started and How to play so controls and goals stay aligned. For input specifics—PC, mobile, tablet, ABX placement—use Controls.
C-priority (for now): rare Brainrot camping
Rare Brainrots are real; they are just mis-ordered on day one. High areas gate the good stuff. Camping empty high air with weak Jump Power teaches frustration, not meta. Park rare hunting under C-priority until you can hold mid band without constant resets, then migrate to the Brainrots tier and Brainrots guide.
Why C early / S later: Same loot, different access. Tier letters follow your height, not the item’s hype trailer.
Save boosts for breakthrough ledges
This is the early-game skill most players skip:
- Breakthrough ledge = the platform you fail three times in a row at current power.
- Not a breakthrough = any hop you already clear on cold Jump Power.
Stack intent: redeem Power → walk to the problem ledge → spend the timer on attempts and micro-adjustments. Money boosts belong near the shop when you are about to buy Weights, not as background decoration.
If two Power codes are available, stagger them across two ledges or two sessions. Double-stacking on one easy pad feels strong and accomplishes little.
Offline income between early sessions
Offline income is why short, focused logins beat one exhausted marathon. Cash in, buy the next Weight or clear upgrade path, redeem new codes, then jump. Do not let idle rewards pile forever while your Jump Power stays flat—idle money is fuel, Jump Power is the engine.
Early-game priority stack (print this mentally)
- Codes via ABX — Codes
- Jump spam for +1 Jump Power volume
- Weights funded by Money boosts and offline cash — Weights and power
- First platforms as stable unlocks — Getting Started
- Boost timing only on breakthrough ledges
- Brainrot camps only after mid-band comfort — Brainrots tier
When to leave the early-game tier
Graduate when:
- Low platforms are trivial cold.
- You recover from mid misses without tilt resets.
- Weight buys feel incremental, not desperate.
- You can spend a Power timer entirely inside a higher band.
Then shift ranking mindset on the Tier List Hub toward late-climb Brainrot value. Until those checks pass, stay here and keep hopping.
Related hubs
- Tier List Hub — early vs late philosophy
- Guides Hub — walkthroughs and mechanic deep dives
- Players Hub — session habits and community tips
- Tools Hub — redeem and breakthrough checklists
Play the boring loop well. Early sky is won by codes, jumps, Weights, and timed breakthroughs—not by staring at rares you cannot touch yet.
Frequently Asked Questions
Quick answers for Jump to Reach the Sky players.
What is the first thing I should do on a new account?
Redeem every working code in the ABX menu, then start jump volume immediately. Buy early Weights when Money boosts or offline income allow, and save Power timers for the first ledge you cannot clear cold.
Why are Brainrots ranked so low early?
Rare Brainrots favor higher areas. Without Jump Power and Weights, you cannot hold those bands long enough for hunting to beat raw climbing. Use the Brainrots tier after mid platforms feel stable.
Should I stack every Power code at once?
Usually no. Stagger Power boosts across breakthrough ledges or sessions. Burning multiple timers on platforms you already clear wastes the best early advantage codes give you.
Where do I learn controls and ABX location?
See the Controls page under Players, plus Getting Started and How to play in Guides. Codes lists the live redeem strings and reward types.