Jump to Reach the Sky Weights and Jump Power
Permanent +1 jumps, stronger training, and boost windows that actually matter.
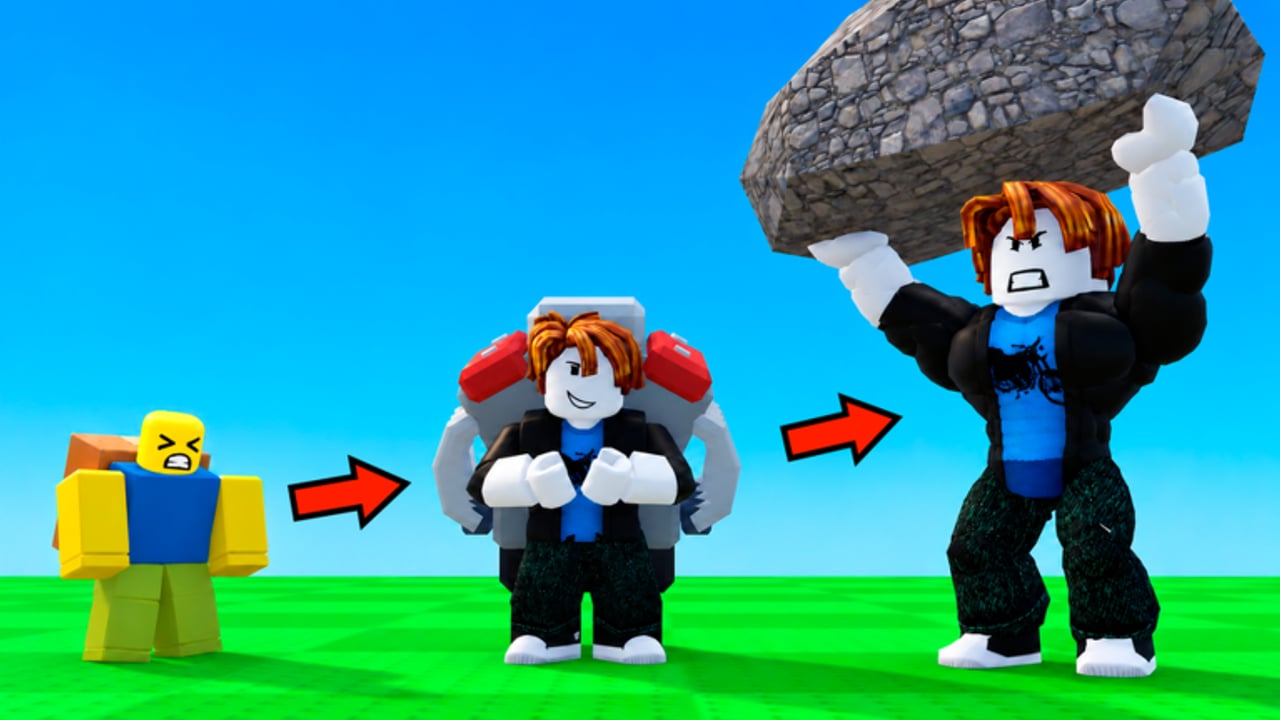
Jump Power and Weights are the engine of +1 Jump to Reach the Sky!. Every jump permanently adds +1 Jump Power. Weights make training stronger. Temporary Power and Money boosts from codes accelerate a window of play but never replace the permanent +1 rule. This guide explains how those pieces fit together, how to spend boost timers, and when you should climb floating sky areas versus stay down and train.
If you are brand new, finish Getting Started first. For the full control and etiquette loop, keep How to Play open in another tab. Live strings always sit on Codes.
Permanent Jump Power: the +1 rule
The fantasy is literal. Jump, and your Jump Power goes up by one — permanently. That number is the main gate to higher floating platforms and, later, rare Brainrots. Implications:
- There is no substitute for jumps. Looking at high areas does not raise the stat.
- Short sessions still matter because each jump sticks.
- Temporary Power boosts make a session feel stronger and can improve training efficiency, but the lasting progress is still the +1 count.
- Missed climbs do not erase Jump Power you already earned; they only waste time you could have spent training or lining up a better attempt.
Treat Jump Power like a high score that only moves upward when you play the jump loop.
What weights do in this game
Weights exist to make you stronger. In session terms, they are the training layer on top of raw jumping. Use them when you want more efficient growth than standing in an empty field pressing jump with no plan.
Practical weight habits:
- Equip or activate weights before a dedicated training block.
- Combine weights with an active Power boost whenever you have one.
- After a weight block, immediately test the next platform. Training without a climb check hides whether you crossed a threshold.
- If a weight session feels pointless, you may already be strong enough to climb — switch modes.
Do not invent named barbells or fake tiers here. Stick to the known system: Weights strengthen you; Jump Power is the permanent readout; sky height is the proof.
Temporary Power and Money boosts from codes
Codes redeem through the ABX button in the top-right. Active codes typically grant timed bonuses such as Power or Money for a limited duration (commonly on the order of minutes, often around a 30% style boost in current lists). Exact strings change — always verify on the Codes Hub.
How to think about each type:
- Power boost: Spend it on jumping and weights. This is your best “numbers go up faster” window.
- Money boost: Spend it on extending productive play — longer training, more attempts, fewer reasons to quit mid-goal.
- Stacked timers: If you redeem multiple codes, plan the order so Power covers the hardest training block and Money covers the longer stretch around it.
Boosts expire whether you use them or not. Redeeming ABX codes and then AFKing is the most common efficiency failure in this genre.
Boost-window efficiency checklist
- Join on a stable connection (PC, mobile, or tablet).
- Open ABX and redeem from Codes.
- Confirm which boost you received (Power vs Money).
- Start weights or jump spam within seconds, not minutes.
- Mid-timer, do one climb probe toward the next floating area.
- If the probe fails by a small margin, resume training until the timer ends.
- If the probe succeeds, spend remaining boost time securing the new band or preparing the next.
- When the timer ends, decide: another train block, a clean climb session, or logout for offline income.
This checklist turns codes into a schedule instead of a random popup.
When to climb versus when to train
Train when:
- You miss the same ledge by a small amount repeatedly.
- A Power boost is active and you are still in a reachable training area.
- You just unlocked a weight upgrade path and need to feel the difference.
- Early-game priorities say you are behind on Jump Power relative to the next sky band — see early-game tier list.
Climb when:
- A platform that was impossible now looks close after a Jump Power jump.
- You want to learn spacing for the next floating area before another long train block.
- You are entering heights where Brainrots can appear — climbing is the content, not a distraction. Read Brainrots.
- Training gains feel flat because you have not tested a new height gate in a while.
Do both in a loop: train → climb check → train or push. That rhythm beats hour-long single-mode sessions.
Reading progress without lying to yourself
Players often confuse three meters:
| Signal | Meaning | If it stalls… |
|---|---|---|
| Jump Power | Permanent +1 per jump | You stopped jumping or left the loop |
| Temporary Power | Code timer | Timer ended or was never spent well |
| Height / sky band | Platforms reached | Need more Jump Power, better timing, or both |
Money is the fourth signal: it funds longer sessions and pairs with Money boosts. It is not a replacement for Jump Power. Offline income helps Money and long-term progression while you are away, which is why ending a session cleanly still matters.
Early, mid, and high focus (without fake item lists)
Early focus: Jump a lot. Grab weights ASAP. Redeem every working code. Clear the first floating platforms. Use Getting Started and early-game tiers as your compass.
Mid focus: Boost windows become more valuable because each minute of Power multiplies a bigger base. Alternate weight blocks with deliberate climbs. Start caring about Brainrot routes even if drops are still rare.
High focus: Height is content. Jump Power still rises forever, but your session goals skew toward maintaining access to the highest areas, farming Brainrots, and letting offline income compound between visits. Brainrots and the Brainrots tier list take priority over generic spam advice.
Multiplayer and training space
Servers max out at six players. Weight training near crowded pads can cause bumps that break jump rhythm. If collisions ruin your Power boost window, move to a quieter flat area for spam, then return to contested platforms only for climb checks. Etiquette notes in How to Play apply: do not body-block trainers who are clearly mid-boost.
Common myths to ignore
- “Codes replace Jump Power.” No. Codes are temporary. +1 per jump is permanent.
- “Climbing more always beats training.” Not when you miss by the same margin every try.
- “Weights are optional flavor.” They are the named training tool the game gives you to get stronger — use them.
- “Offline income means I can skip boosts.” Offline helps, but an unused Power timer is still wasted real-time advantage.
Related pages
- Codes — ABX redemption and current Power / Money rewards.
- Brainrots — why high sky areas matter once Jump Power is high enough.
- Early-game tier list — early priorities ranked.
- Getting Started — first-session order of operations.
- How to Play — spam vs climb, UI, mobile, etiquette.
Keep the mental model simple: jumps forever raise Jump Power, weights make training stronger, codes buy timed windows, and climbing is the exam. Pass the exam when the number says you can — not when impatience says you should.
Frequently Asked Questions
Quick answers for Jump to Reach the Sky players.
Does every jump really add permanent Jump Power?
Yes. Each jump adds +1 Jump Power permanently. Temporary Power boosts from codes help during their timer but do not replace that rule.
How should I use a Power boost?
Redeem via ABX, then immediately jump and train with weights. Mid-timer, probe the next platform. Do not AFK through the countdown.
When should I stop training and climb?
Climb when a previously impossible platform looks close, or when you need to learn a new sky band. If you miss by a small margin repeatedly, train more first.
Do Money boosts help Jump Power directly?
Money boosts extend productive sessions and keep you playing longer. Jump Power still comes from jumping; Money is session fuel, not a substitute stat.
Where do Brainrots fit into power training?
Brainrots show up at the highest areas. Build Jump Power and use weights until those heights are reachable, then switch session goals toward farming — see the Brainrots guide.