Jump to Reach the Sky Tier List Hub
Early climb vs late climb priorities for Jump Power, Weights, and Brainrots.
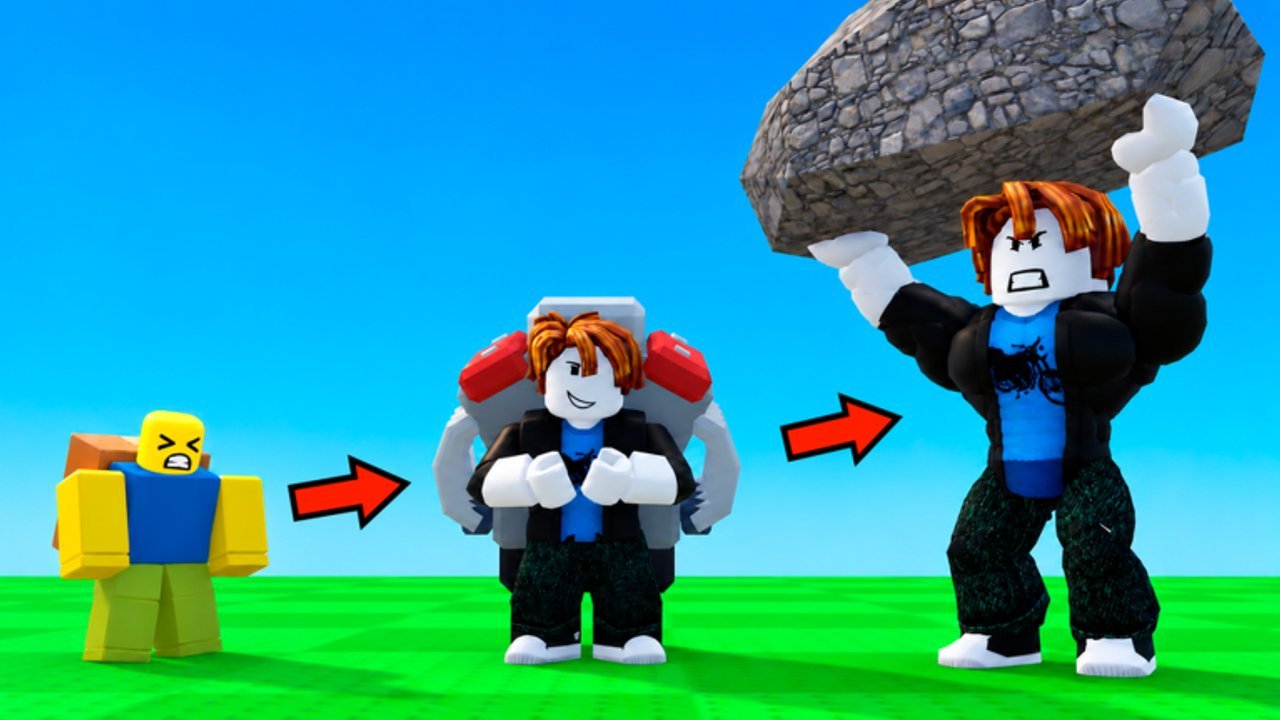
+1 Jump to Reach the Sky! is a vertical incremental: every jump adds +1 Jump Power, Weights raise how hard you train, and rare Brainrots show up in higher areas while offline income keeps progress moving between sessions. This Tier List Hub is not a vanity ranking of cosmetics. It is a practical climb map—what to chase first, what to delay, and when a temporary Power or Money boost is worth burning on a breakthrough ledge.
Servers cap at six players, so the climb is shared space but the power curve is personal. Rankings here favor time-to-height, reliable income, and breakthrough value over pure spectacle. Drop tables and area gates change with updates, so treat letter tiers as decision frameworks, not forever laws. Recheck this hub after big patches, then drill into the subpages for detail.
Ranking philosophy: early climb vs late climb
Early climb rewards boring consistency. Your Jump Power is low, platforms feel sticky, and every minute of idle spam compounds. In that window, codes (Power and Money timed boosts via the ABX menu), raw jump volume, and early Weight purchases beat hunting ultra-rare Brainrots you cannot reach yet. The early-game priority tier spells out that order: redeem first, jump second, Weight third, save boosts for the ledge that actually blocks you.
Late climb flips the ratio. Once you can hold mid and high platforms, height gates matter more than raw spam. Rare Brainrots denser in upper areas become the main multiplier on income and prestige feel, while Weights keep your jump cadence from stalling on thicker ledges. The Brainrots tier ranks what is worth camping versus what is a lucky side pickup. Pair it with the deep dive on Brainrots and the mechanic guide for Weights and power so you know why a rank sits where it sits.
Use this split every session: ask whether you are still unlocking basic vertical access or already farming upper bands. Mixing the two mindsets wastes boosts—burning a 10-minute Power code on safe low platforms when you needed it for a new height band is the most common early mistake.
What we score (and what we ignore)
We score:
- Access — Can you reach the area that drops or enables the thing?
- Progression density — Does it raise Jump Power, income, or Weight efficiency per minute?
- Breakthrough value — Does it clear a sticky ledge or unlock a new band of platforms?
- Opportunity cost — Would the same minutes spent jumping or buying Weights climb farther?
We de-prioritize:
- Pure flex rarity with no climb payoff yet
- Speculative future metas that are not in the live build
- Exact percentage tables that patch overnight without a public changelog
Honesty beats fake precision. When a patch retunes Brainrot spawns or Weight costs, letter grades move. The framework stays: early = volume and codes; late = height access and rare finds.
How to use this hub
- Skim the philosophy above and pick early or late mindset for this login.
- Open Early-game priority if you are still unlocking first platforms and learning ABX codes.
- Open Brainrots tier when you can stay in higher areas long enough for rare finds to matter.
- Cross-check mechanics on Weights and power and lore/spawn notes on Brainrots.
- Keep Codes bookmarked—timed Power and Money boosts are session tools, not background noise.
Subpage map
- Brainrots tier — S/A/B/C style priority by rarity feel, height requirement, and climb value; caveats for shifting drop tables.
- Early-game priority — codes first, jump spam, Weights, first platforms, and saving boosts for breakthrough ledges.
Related systems outside this category: the full Guides Hub for walkthroughs, Players Hub for session and community habits, and Tools Hub for checklists that turn ranks into a login routine.
Session checklist tied to tiers
Before you jump:
- Redeem anything new on Codes so Power/Money timers start when you need them.
- Decide one breakthrough ledge for this session; do not spray boosts on every hop.
- If offline income came in, bank it into Weights or the next clear upgrade path instead of impulse cosmetics.
- If you are six-player crowded on a popular ledge, shift laterally or wait a wave—contested platforms waste Power timers.
After you climb:
- Note which Brainrot finds actually moved your income or height; ignore shiny misses.
- Update your personal early/late label: if low platforms feel trivial, graduate to the Brainrots tier page next time.
FAQs below and next reads
The FAQ block answers ranking criteria, update cadence, and how codes fit a tier mindset. For controls and ABX UI placement, use Controls. For a day-one walkthrough, start at Getting Started. Favorite the Roblox experience and this wiki so the next patch notes do not catch you ranking yesterday’s meta.
Climb smart: volume early, height and Brainrots later, boosts only when a ledge actually says no.
Frequently Asked Questions
Quick answers for Jump to Reach the Sky players.
How is this tier list ranked?
By climb value: access, progression per minute, breakthrough help, and opportunity cost versus jumping or buying Weights. Early climb favors codes, jump volume, and Weights; late climb favors height access and rare Brainrots. Exact drop rates change with updates, so letter tiers are frameworks, not permanent law.
Should I chase rare Brainrots on day one?
Usually no. Early height gates block the densest rare spawns. Follow the early-game priority page first—codes, jump spam, Weights, first platforms—then use the Brainrots tier once you can hold higher areas.
Do Power codes change the tier list?
Codes do not rewrite letter ranks, but they change *when* you execute a breakthrough. Treat timed Power and Money boosts as tools for sticky ledges, not as a reason to skip Weights or jump volume.
Where should I go after this hub?
New players: Early-game priority, then Getting Started and Codes. Returning climbers: Brainrots tier plus the Brainrots and Weights and power guides.